Apple Wallet, a native iOS app, offers a convenient way to manage digital cards and passes, including event tickets. Despite its potential, many users remain unaware of its simplicity and benefits. The central question emerges: How to add PDF tickets to Apple Wallet from email?
This guide will walk you through the process, ensuring a seamless and paperless ticketing experience. Embrace the digital age with confidence and ease.
Apple Wallet boasts several compelling benefits for users:
Step 1: Begin by opening the app, email, notification, or any communication that contains your boarding pass, ticket, or other digital pass.
Step 2: Look for the "Add to Apple Wallet" button, often marked with an icon resembling an Apple Wallet pass.
tap add to wallet
Step 3: Follow the on-screen instructions, which usually involve verifying and confirming the details of your pass.
If necessary, tap the "Add" button located in the upper right corner of the screen to save the pass to your Apple Wallet.
Step 1: Open the Wallet app on your iPhone.
Step 2: Locate the specific pass or ticket that you want to share within your Wallet.
Step 3: Tap the "More" button
, often represented by three dots, and then select "Pass Details." If you see an "Info" button instead
, you may not have the option to share from the Wallet app.
Step 4: Finally, tap the "Share" icon
. , typically depicted as a button with an arrow, to initiate the sharing process.
If the share icon isn't visible, the merchant or corporation that gave the pass or ticket hasn't allowed sharing in the Wallet app. Check their app or website to see whether you may share a pass or ticket.
Here are some additional tips for making the most of your Apple Wallet:
These tips empower you to fully leverage the capabilities of Apple Wallet for a more streamlined and secure digital experience.
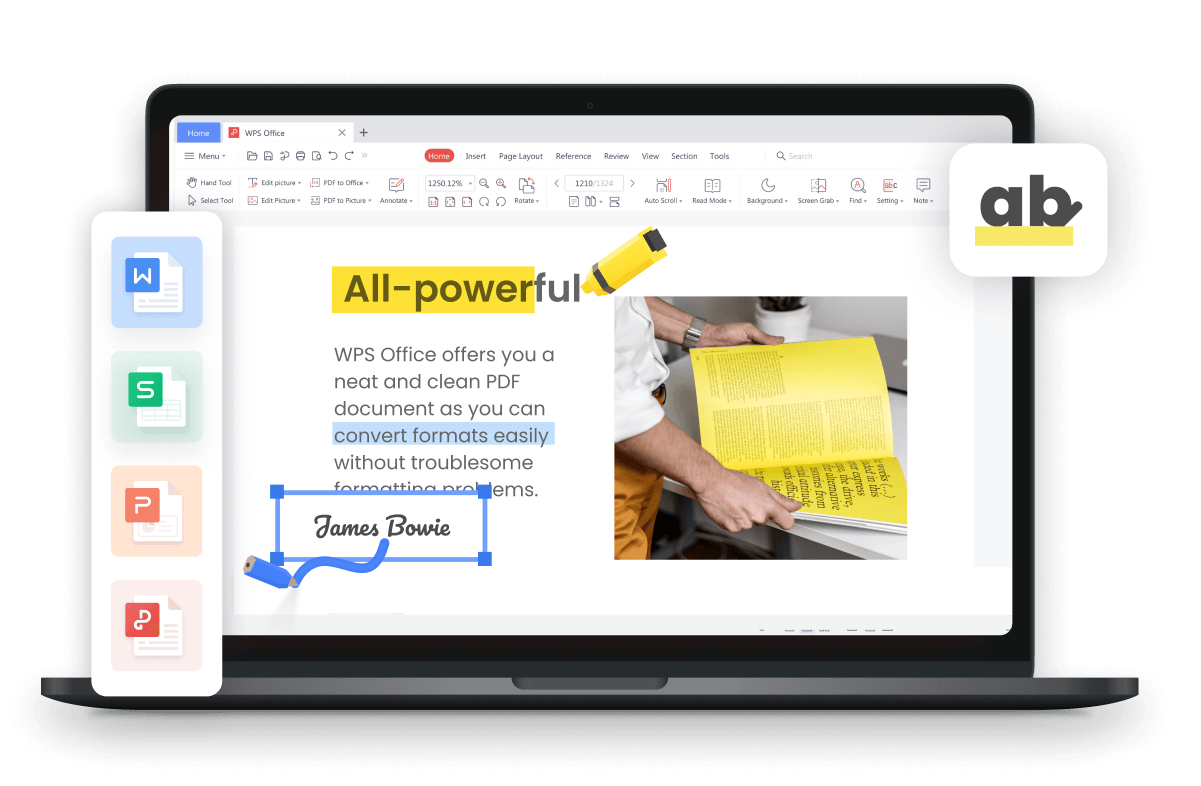
WPS Office is a powerful and versatile office suite that offers numerous services for free. It stands out for its compatibility with industry standards, including Microsoft Office, LibreOffice, and Google Workspace. Whether you need to create documents, spreadsheets, or presentations, WPS Office has you covered.
Having used WPS Office extensively, I've found it to be an excellent alternative to costly office suites. It not only provides a familiar and intuitive interface but also offers a wide range of features, making it a highly efficient tool for productivity on iOS devices.
Step 1: Open the App Store on your device.
Step 2: Use the search bar to find "WPS Office."
Step 3: When you locate the WPS Office app, tap the "Get" button to start the download and installation process.
Step 4: Once the installation is complete, you can easily find and launch the WPS Office app from your home screen or app library.
Trustpilot 4.8 WPS Office- Free All-in-One Office Suite